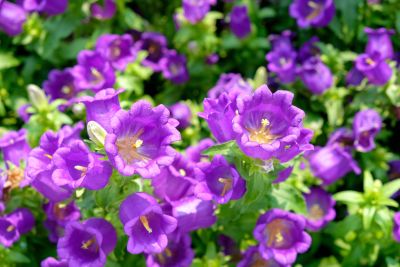
How to Grow Canterbury Bells
The Canterbury bells plant is hardy throughout USDA plant hardiness zones 4-10. It thrives in full sun to partial shade and appreciates moist, well-draining soil and reasonably cool temperatures. Therefore, if you live in a relatively hot climate, provide plenty of afternoon shade. Like most bellflower plants, Canterbury bells are easily propagated by seeds. These should be started in late spring or early summer, thinning as needed once seedlings become large enough. You need only minimal covering with soil. Simply sprinkle seeds in the garden bed and allow nature to do the rest (of course, you will need to keep the area watered). Mature plants will self-seed readily, but just in case, you may want to keep some newly started plants in another nursery bed or pots for transplanting later, usually in spring.
Caring for Campanula Canterbury Bells
During the first year, you should expect only a low-growing clump or rosette of green leaves. These can be overwintered beneath a thick layer of mulch. Look out for slugs or snails, as they enjoy munching on the foliage. By the second year, Canterbury bells flowers will form, usually in summer, atop tall, upright stems. In fact, they may even require staking to keep them upright. Alternatively, you can plant them near shrubby plants for additional support. Canterbury bells also make excellent cut flowers. The large, showy flowers appear as dangling bells (hence the name), which eventually open up into cup-shaped blooms. Flower color can range from white to pink, blue, or purple. Deadheading can sometimes encourage re-blooming as well as maintain appearances. It’s also a good way to save seeds for new additions. It’s always a good idea, however, to leave some flowers intact to self-seed as well. This way you double your chances of growing Canterbury bells year after year.
