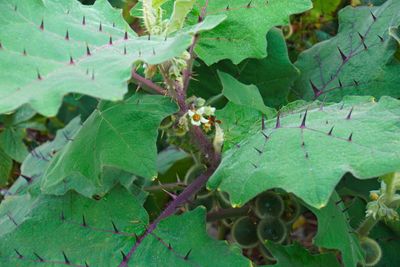
Interested in learning how to layer naranjilla? Air layering, which involves rooting a naranjilla branch while it’s still attached to the parent plant, is surprisingly easy. Read on to learn about naranjilla air layering propagation.
Tips on Naranjilla Layering
Air layering naranjilla is possible any time of year, but rooting is best in early spring. Use a straight, healthy branch about one or two years old. Remove the side shoots and leaves. Using a sharp, sterile knife, make an angled, upward cut about one-third to halfway through the stem, thus creating a “tongue” about 1 to 1.5 inches (2.5-4 cm.) long. Place a piece of toothpick or a small amount of sphagnum moss in the “tongue” to keep the cut open. Alternatively, make two parallel cuts about 1 to 1.5 inches (2.5-4 cm.) apart. Carefully remove the ring of bark. Soak a fist-sized handful of sphagnum moss in a bowl of water, then squeeze out the excess. Treat the wounded area with powdered or gel rooting hormone, then pack damp sphagnum moss around the cut area so the entire wound is covered. Cover the sphagnum moss with opaque plastic, such as a plastic grocery bag, to keep the moss moist. Make sure no moss is extending outside the plastic. Secure the plastic with string, twist-ties, or electrician’s tape, then cover the entire thing with aluminum foil.
Care While Air Layering Naranjilla
Remove the foil occasionally and check for roots. The branch may root in two or three months, or rooting may take as long as a year. When you see a ball of roots around the branch, cut the branch from the parent plant below the root ball. Remove the plastic covering but don’t disturb the sphagnum moss. Plant the rooted branch in a container filled with good quality potting mix. Cover the plastic for the first week to prevent loss of moisture. Water lightly as needed. Don’t allow the potting mix to dry out. Put the pot in light shade until the new roots are well developed, which usually takes a couple of years. At that point, the new naranjilla is ready for its permanent home.
