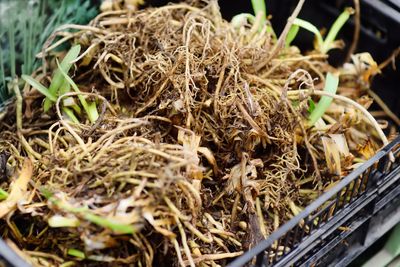
However, if you’re concerned about daylily plants in winter, digging and storing daylily tubers isn’t a bad idea, especially in climates north of USDA plant hardiness zone 5. Let’s learn what to do with daylilies in winter.
Daylily Tuber Winter Care
Daylilies don’t grow from bulbs, but from tuberous stems that grow underground, where they send out fibrous roots. These are easy to dig in preparation for winter cold and overwintering daylily plants is easy. Cut daylily plants to the ground in late fall, after blooming ends and the foliage is turning yellow or brown. Use a trowel or garden fork to loosen the soil around the plant. Don’t dig too close to the clump, as you may damage the tubers. Rock the trowel or fork back and forth to loosen the tuberous roots, then pull them carefully from the soil. Shake the roots to remove loose soil. If the soil is stubborn, brush it off carefully with your fingers, but don’t wash or rinse the tubers. Sort through the tuberous roots and discard any that look unhealthy or shriveled. Place about 2 inches (5 cm.) or peat moss in a cardboard box. Lay the tuberous roots on top of the peat, then cover them with peat moss. You can safely store up to three layers this way, as long as there is peat between each layer. Note: You can also store the tubers in a paper sack filled with potting soil or peat moss. Store the box in a cool, dry, well-ventilated spot where temperatures are cold, but not freezing. Check the tubers occasionally and sprinkle them lightly with water if they seem dry. Remove any rotten or moldy ones.
